Develop Module, Soft Proofing, Importing Presets, Using Presets, Work Flow From Camera to Catalogue, To Photoshop And Back. More on Workflow, Exporting Images, emphasis on Size. Tone Curves: Parametric Vs Point Curves, Point Curves: Linear, Medium Contrast, Strong Contrast…
Exporting your Photographs
The question to ask yourself here is what are you going to do with the image file, where do you want to send your image files, and in which format (as a .jpg, .tiff, .png, .psd., raw enhanced, raw original)?
Export To:
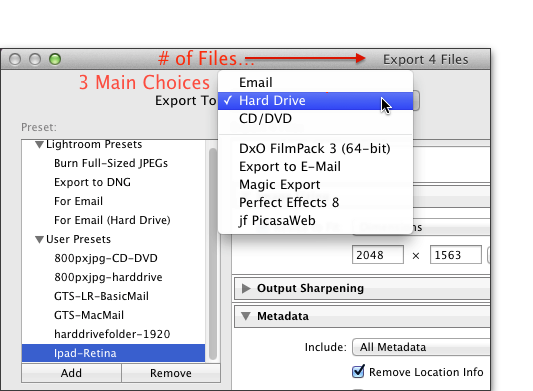
 Where? To an email, to a folder on a hard/flash drive, to a DVD/CD.
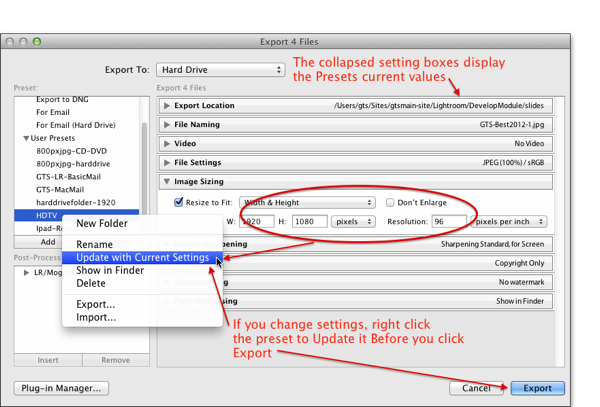
You make your choice in the Export To: Drop Down Menus. The Export to DNG and For Email (Hard Drive) menu choices give you some extra options.
In the example image I have added some “other” plug-ins to Lightroom, they are listed below the 3 standard Choices
You can find Export Plug-ins at the Adobe exchange (some are free some are Commercial), or just search the internet for Lightroom Export Plug-ins.
In the Preset Window you can choose default settings for:
- Full Sized jpg’s,
- for exporting as DNG files,
- for email (Lightroom style) or
- email but, also save images to a folder on a hard drive…

.
See you in class…
There are other ways of “Exporting” your images. You can make slideshows, books, Web Pages, and make prints.
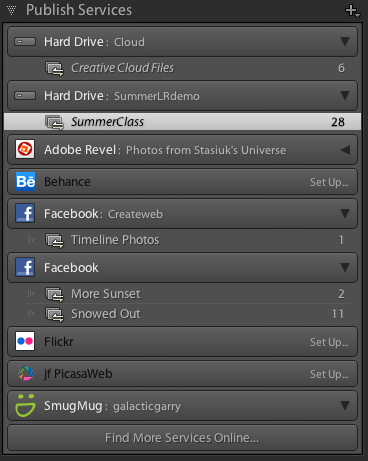
You can also publish your images to other services

No comments:
Post a Comment